The Ultimate Guide to Composting: Transform Waste into Plant Food
In a world where we throw away piles of waste, what if we could turn it into something beneficial for the environment and for our gardens? Composting is an ancient practice of turning organic waste into soil that is full of nutrients for your plants. It’s kind of like recycling for your own garden. You can start composting whether you live in a house with a backyard garden or a small apartment with a garden on the roof. It can be both fun and good for the environment.
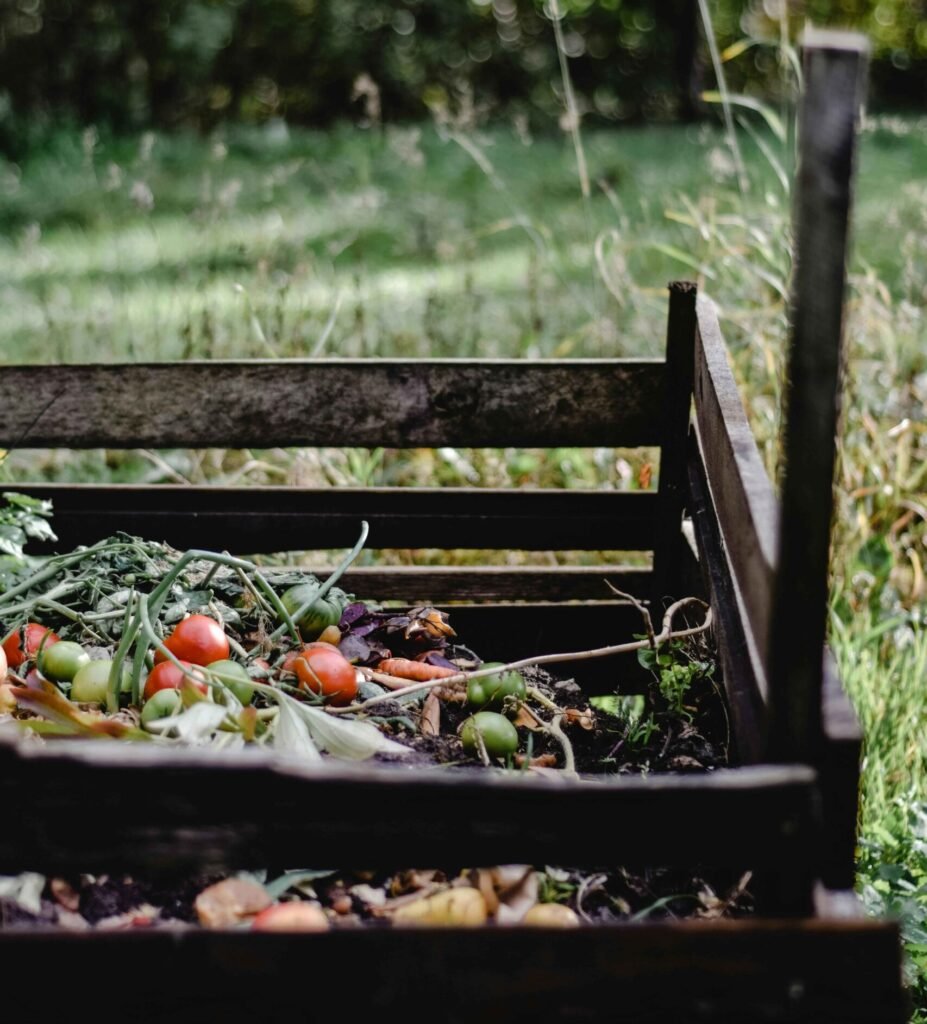
In this blog, I will tell you everything about composting. From the kitchen to the soil, your journey of composting starts here.
What is Composting?
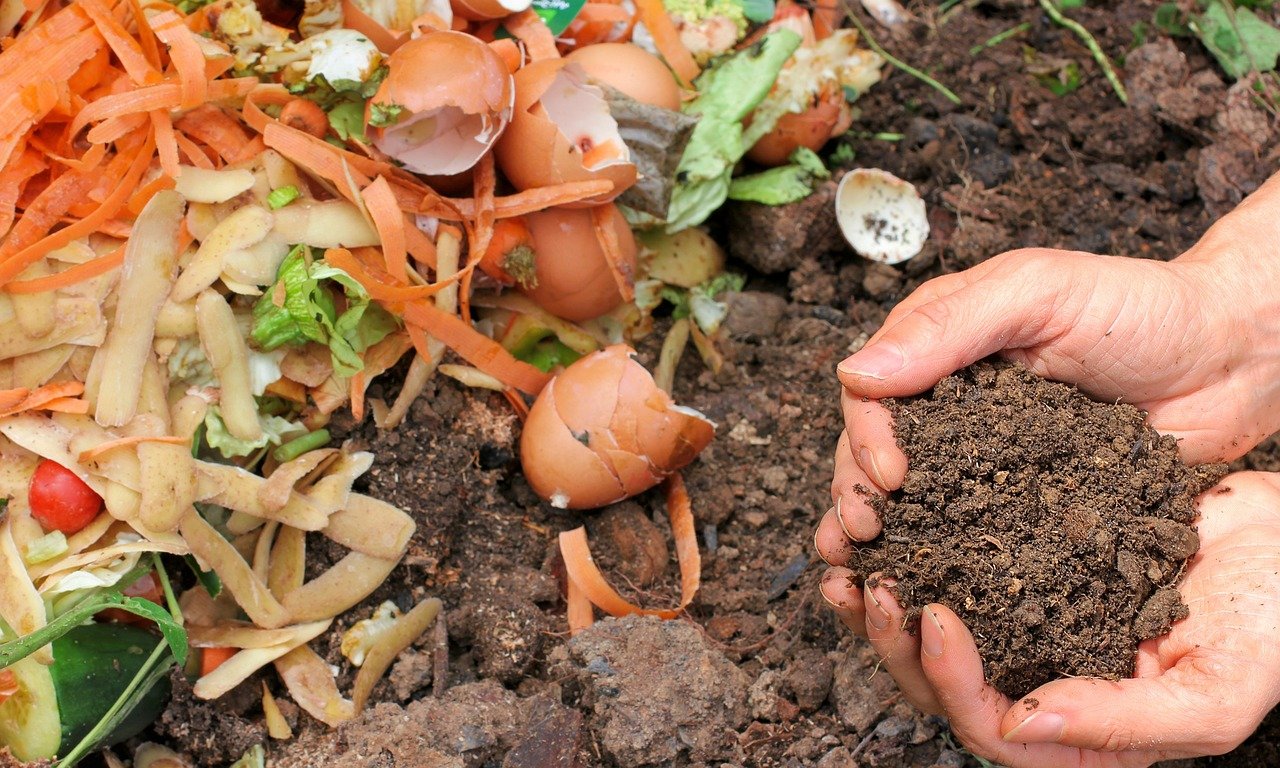
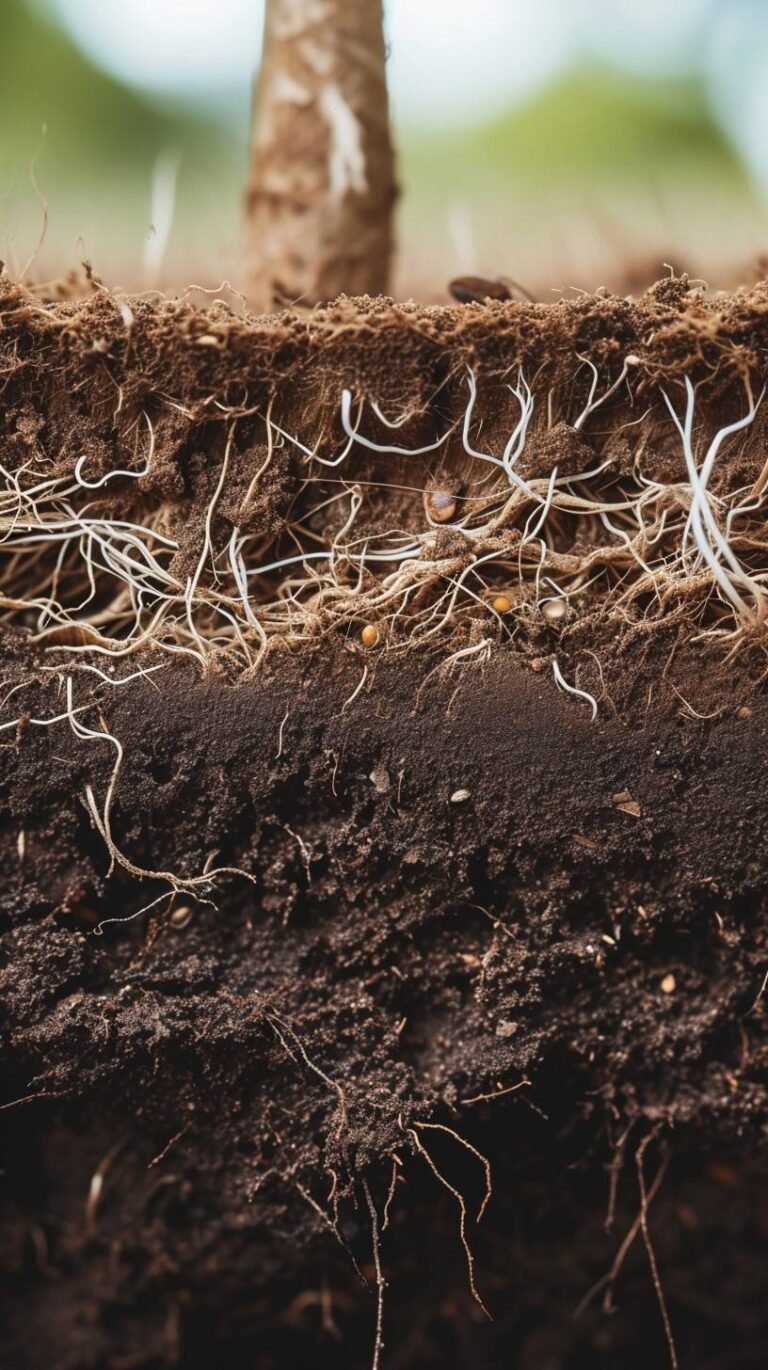
Compost is a rich in nutrients, organic material for your plants, created by decomposing kitchen scraps, garden waste, and other biodegradable items. It is used as organic fertilizers for your plant. It improves soil structure and fertility, making it a natural fertilizer that helps plants grow healthier. The process of making compost is known as composting. By composting, you reduce waste and recycle nutrients back into the earth.
Types of Compost Fertilizers
There are many types of composts. Each of them has their own benefits. But here are some types:
- Green Compost:
It is made from nitrogen-rich, “wet” organic wastes like grass clippings, coffee grounds, tea leaves, and fruit and vegetable peels from the kitchen. The high nitrogen level in green compost speeds up the decomposition process and gives plants food to grow more. It’s a process that has been used by the farmers since ancient times.
- Brown Compost:
Carbon-rich, “dry” organic materials like straw, wood chips, dried leaves, twigs, and cardboard are used to make brown compost. In addition to giving the compost structure, these items break down more slowly, keeping the pile from getting too wet.
- Vermicompost:
Vermicomposting involves using worms (usually red wigglers or earthworms) to break down organic waste, producing worm castings. These castings are nutrient-dense and full of beneficial microbes, making vermicompost an excellent fertilizer for plants. Vermicomposting is a fantastic option for small spaces, where red worms do the composting work for you. This method creates nutrient-dense (nitrogen, phosphorus, potassium, and trace minerals) composts called worm castings, which are excellent for potted plants and gardens. It’s great for flower plants to start flowering.
- Manure Compost:
Manure compost includes animal manure from herbivores like cows, horses, chickens, and rabbits. Manure is extremely rich in nitrogen, phosphorus, and potassium. So, it is a powerful fertilizer for plants. Manure enriches the soil, increases fertility, and boosts the availability of nutrients to plants. However, it must be composted and well-aged to avoid harming plants. If not, a fungus attack may happen on your plants or their roots. I recommend using a little fungicide with manure compost before applying it to soil.
- Bokashi Compost:
Bokashi composting is an old Japanese fermentation process that uses anaerobic bacteria (without oxygen fermentation) to break down kitchen waste, including items like meat and dairy that are not typically compostable in traditional methods. Bokashi bins are sealed while in the process. That makes this method odorless and fast (usually 2-3 weeks).
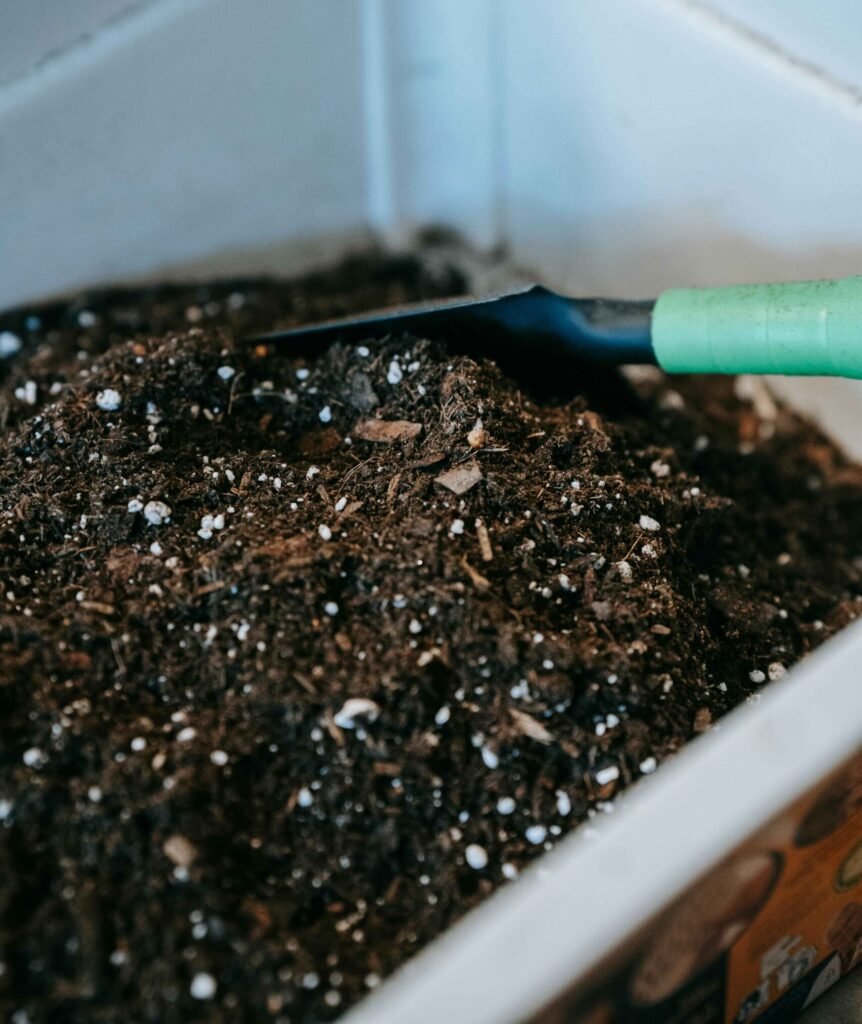
The Guide to Start Composting at Home Garden
This ultimate guide to composting involves an easy method for making compost fertilizers for your plants. You can just make it from the kitchen waste if you want. Whether you have a rooftop or a backyard garden, whether it’s big or small, composting is easy when you know the basics.
Step-1: Choose Your spot
Choose a spot in the garden with shadows. Keep it away from the pathways as there may be odors spreading from it.
Step-2: Choose Your Compost Bin
A traditional compost bin or a simple DIY pile for backyards will do the job. For rooftops or small spaces, try using a worm bin or a small plastic bin with air holes drilled in it. Even usual sacks or cartoons will do the job too.
Step-3: Collect Waste for Composting
You will need two kinds of things to make a healthy compost: Green wastes like food scraps that are still fresh and moist, like coffee grounds, grass clippings, eggshells, and fruit peels. They can be easily found in the kitchen. Again, dry, carbon-rich things like dried leaves, shredded newspaper, straw, and cardboard are examples of brown waste. They also can be found in our daily useful kinds of stuff. No need to collect a huge amount at a time. Just gather regular waste day by day, and put it in your compost bin once in a day. Be aware that there is no plastics in the stack.
Golden Ratio: For an effective breakdown, try to get a 50/50 split between green and brown waste. Too much green makes a slimy, smelly mess, and too much brown makes things take longer to break down.
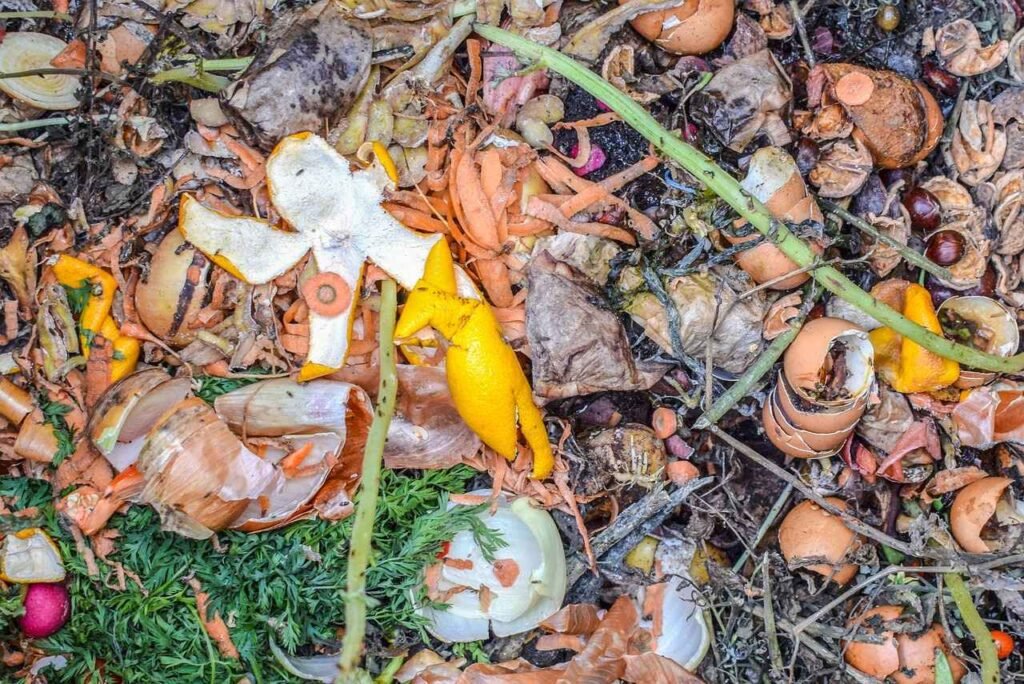
Step-4: Stack it up like a lasagna
Start by putting brown trash at the bottom of your bin. This keeps your compost from getting too wet and helps the airflow. First, put down green waste, then brown, and so on. Some layers of garden soil after some layers can also speed up the process.
On the bottom, put dried leaves, straw, or brown cardboard.
In the middle layers, switch between green waste (like grass and food scraps) and brown waste (like paper and sticks).
You can also sprinkle some fungicide powder after some layers to stop fungus attack.
Lastly, Always put a brown layer on top to keep flies away and keep smells in check.
Step-5: Turn the pile if you can.
If you use a regular compost pile or bin, you should turn the compost every two weeks. That way, air can get into the compost, which will help it decompose faster. You don’t have to turn when you’re vermicomposting or working with small areas.
Step-6: Keep It Moist, But Not Wet
Your compost pile should be moist like a wrung-out sponge. If it’s too dry, it won’t break down. If it’s too wet, it will start to smell. Water your compost pile occasionally if it looks too dry, but make sure it’s draining well to avoid a soggy mess. Spray water on the pile once a week. This way it won’t be too wet but keep it moist. In the dry season, you can water twice a week.
Step-7: Be Patient
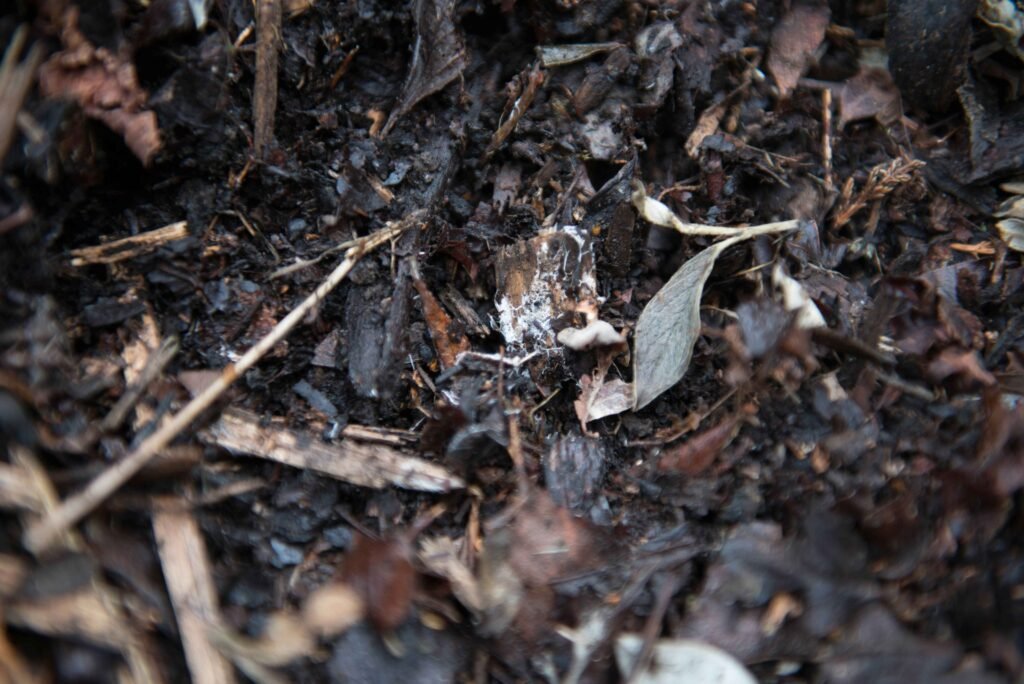
Depending on this method, your compost could take anywhere from 2-6 months to break down fully. Once the material at the bottom is dark and crumbly (and smells like fresh earth), your compost is ready to use! Mix the all layers up before using it. You can then use it with soil to make your soil more fertile.
Final Thoughts
Whether it’s in your backyard or on your roof, making your own compost pile is a fun and easy way to reduce waste and nourish your garden. You can make nutrition-rich and fertile compost for your plants that will help them grow while also being good for the environment. So why not begin right now?
Wendell Berry once said,
“The Earth is what we all have in common.”
Let’s help keep it healthy by starting in our own gardens! Happy Gardening!


In the south east and if I m rubbing
They too like he did not to feed